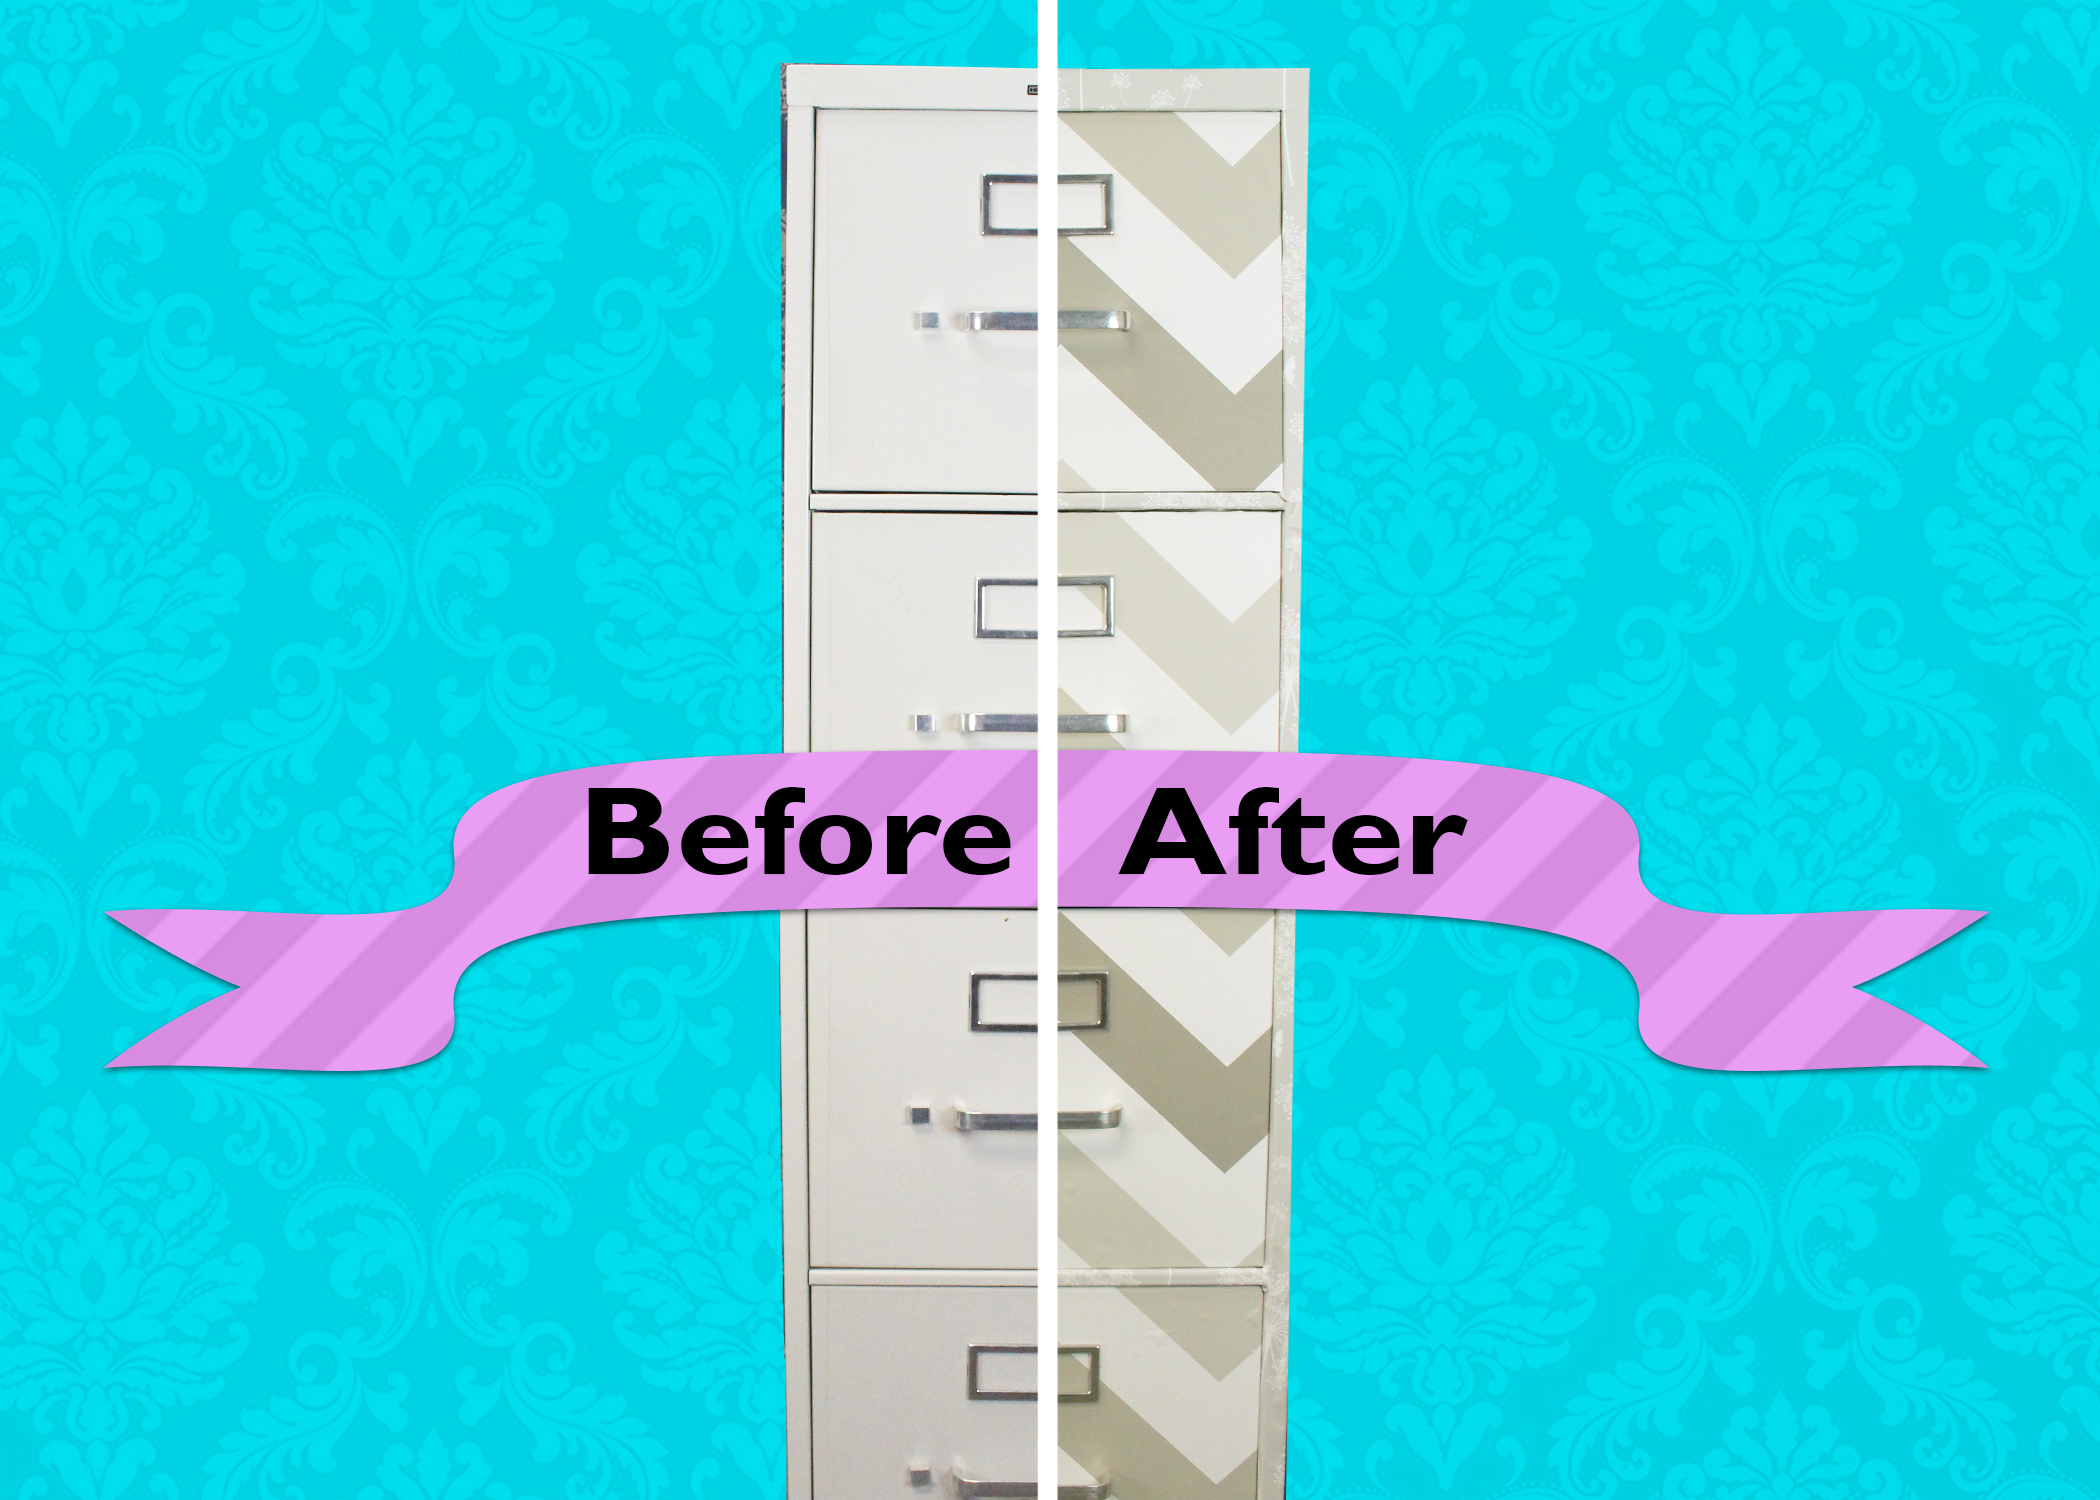
Say Goodbye to Boring Filing Cabinets!
This week we decided to makeover our office filing cabinet. It started out as a boring old cabinet and was turned into a stylish office piece.
This is a great project if you have a home office, or just want to spruce up your work space. What was once an eyesore, designed solely for function, can now be a beautiful part of your office décor.
Supplies:
Filing Cabinet (ours measures 52″ tall, 15″ wide, and 25″ deep)
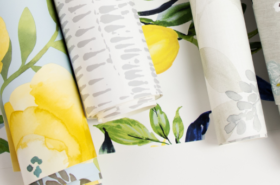
1 Roll Dandelion NuWallpaper
1 Roll Taupe Zig Zag NuWallpaper
Smoothing Kit (includes smoother & craft knife)
Here’s how to do it:
Step 1: Remove all the hardware you can. We were unable to remove the drawer latches, but worked around them.
Step 2: Starting on one side, begin applying the Dandelion NuWallpaper. Slowly remove the backing as you work your way down the cabinet.
Step 3: Match up your seams and fold the NuWallpaper over the front of the cabinet.
Note: This step may be easier if you cut this strip of the NuWallpaper to the size you need first (plus a little extra) and then remove the backing vertically instead of horizontally.
Step 4: Cover the other side and top.
Step 5: Cut out the drawers, leaving extra material around the opening edges.
Step 6: Diagonally cut in the drawer corners and fold them under.
Step 7: Beginning at the top drawer, cover the drawer faces with the Taupe Zig Zag NuWallpaper.
Step 8: When you hit the drawer latch, cut an X in the NuWallpaper to allow the latch to pull through. Remove the excess.
Step 9: Keep moving down, not cutting between the drawers to keep a continuous pattern match.
Step 10: Once all drawers are covered, cut between them, folding in the edges.
Step 11: Remove the excess material on the sides and fold in the edges.
Step 12: Reattach hardware.
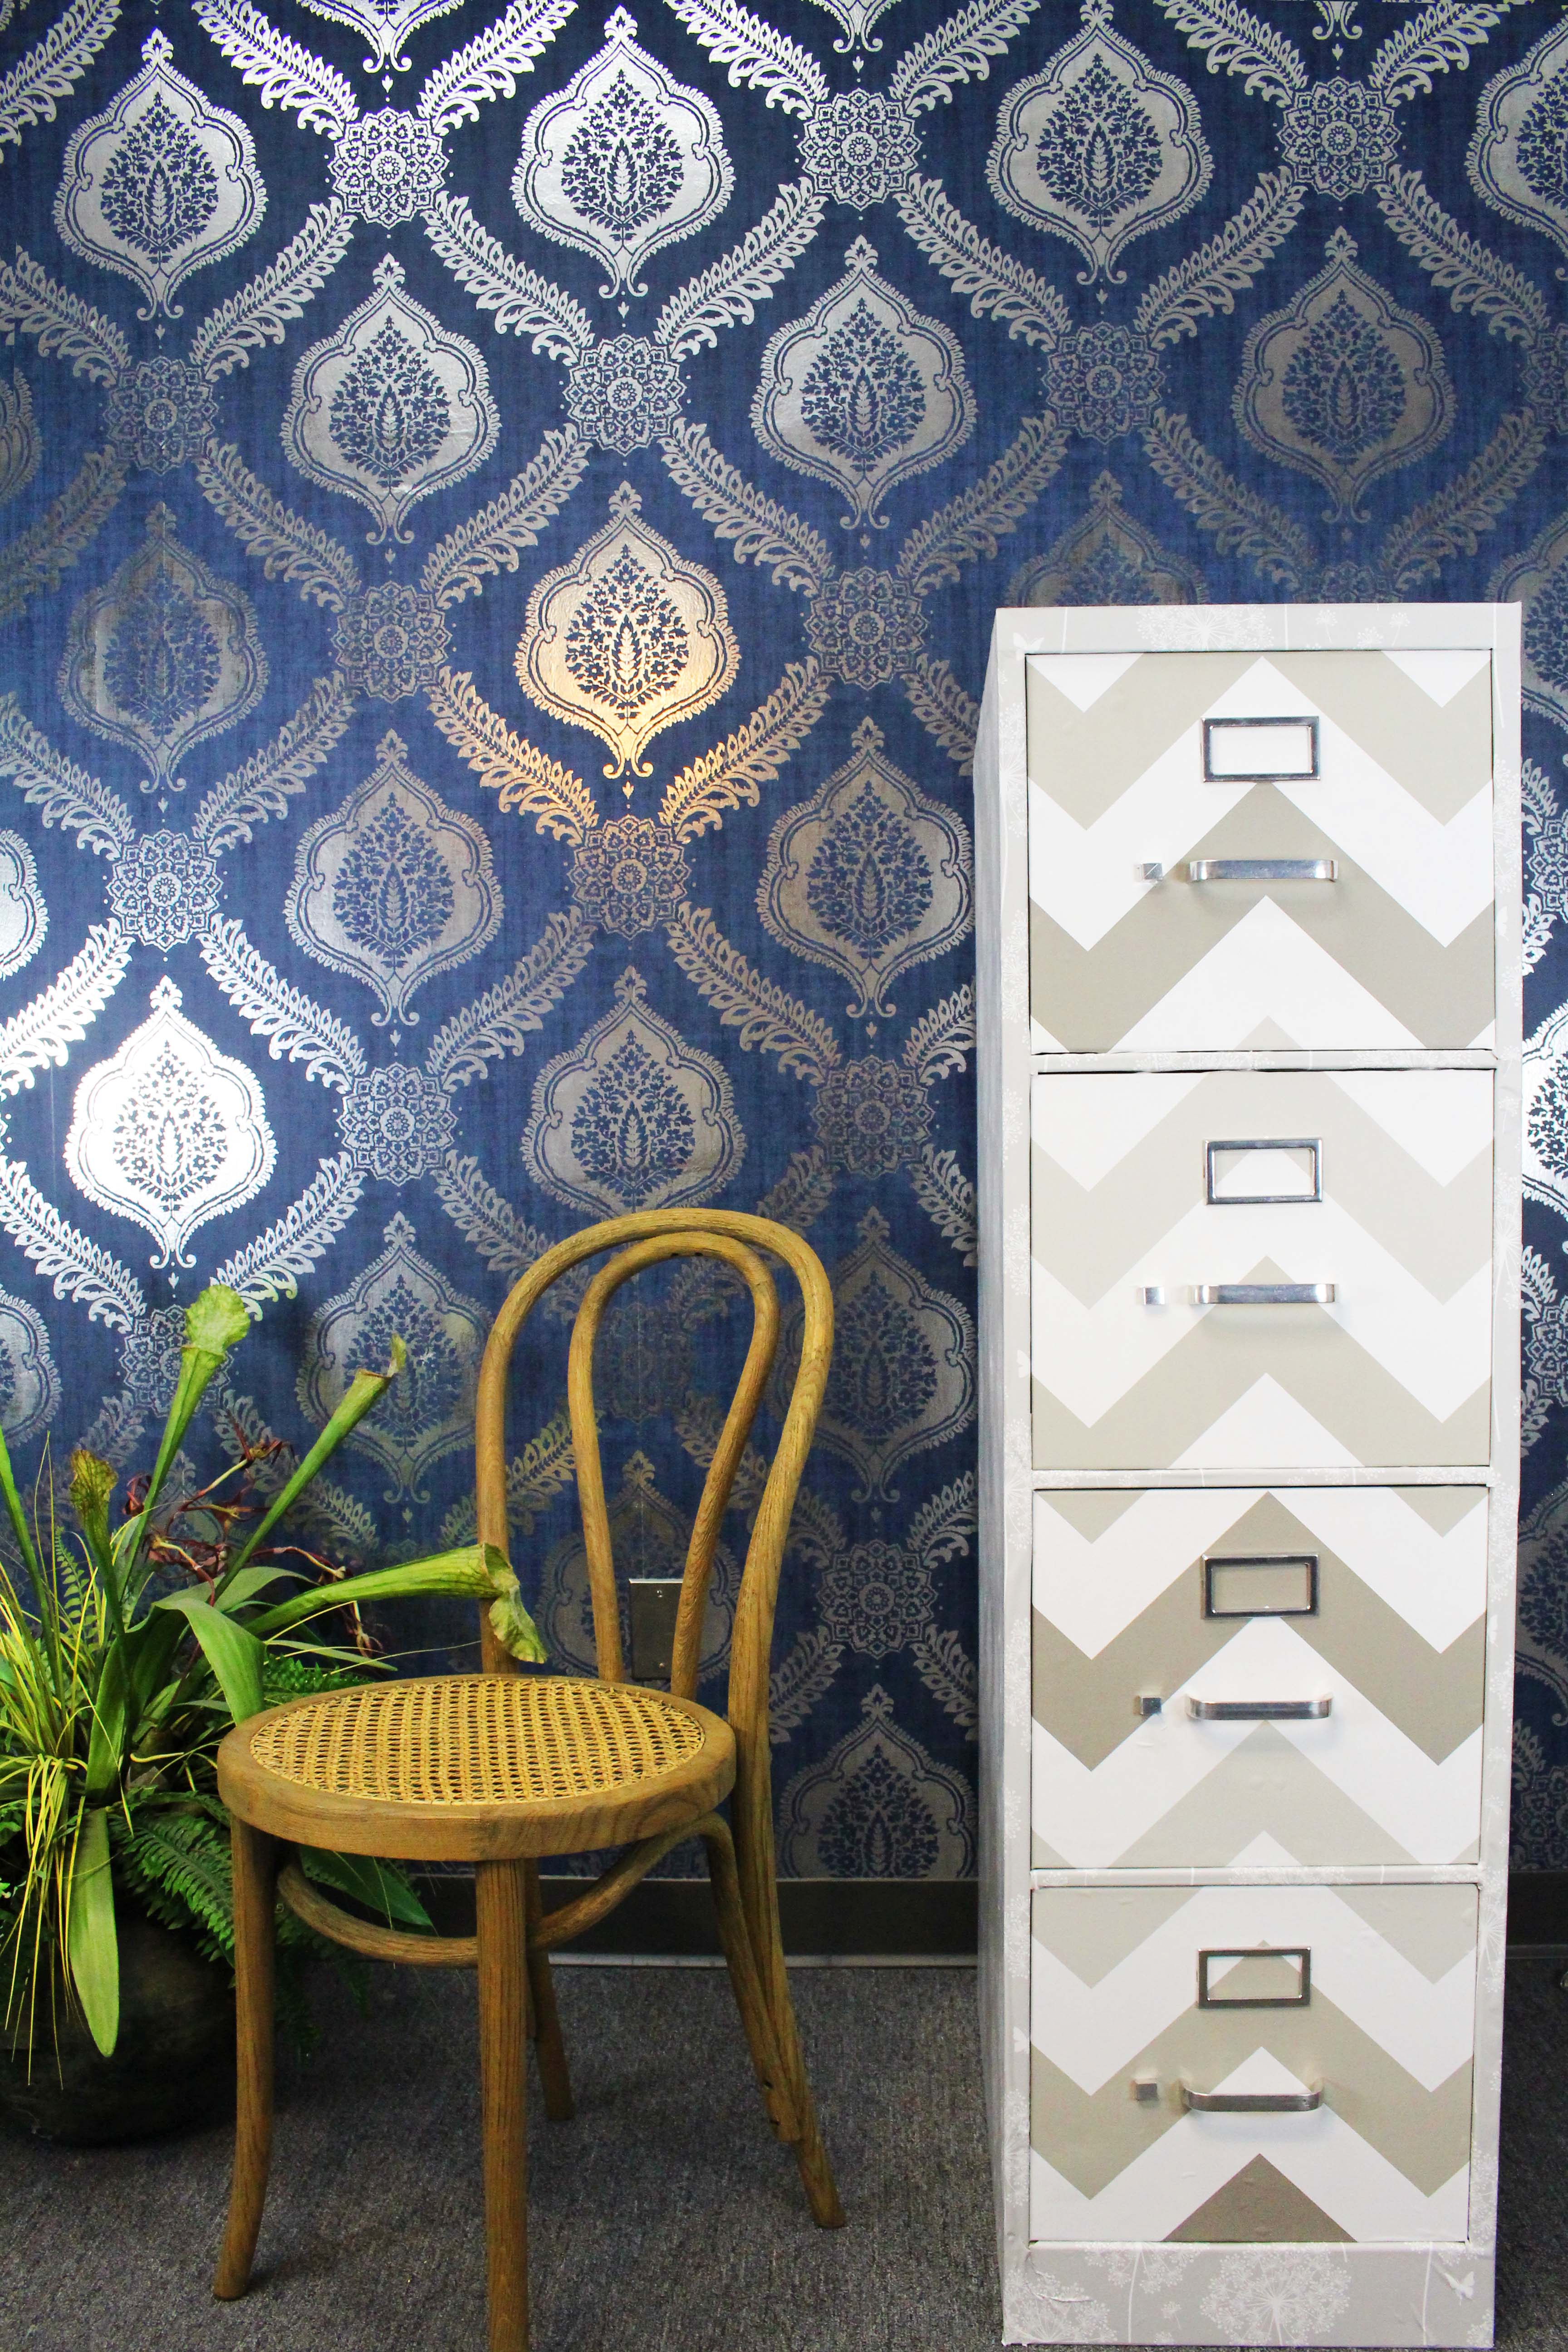
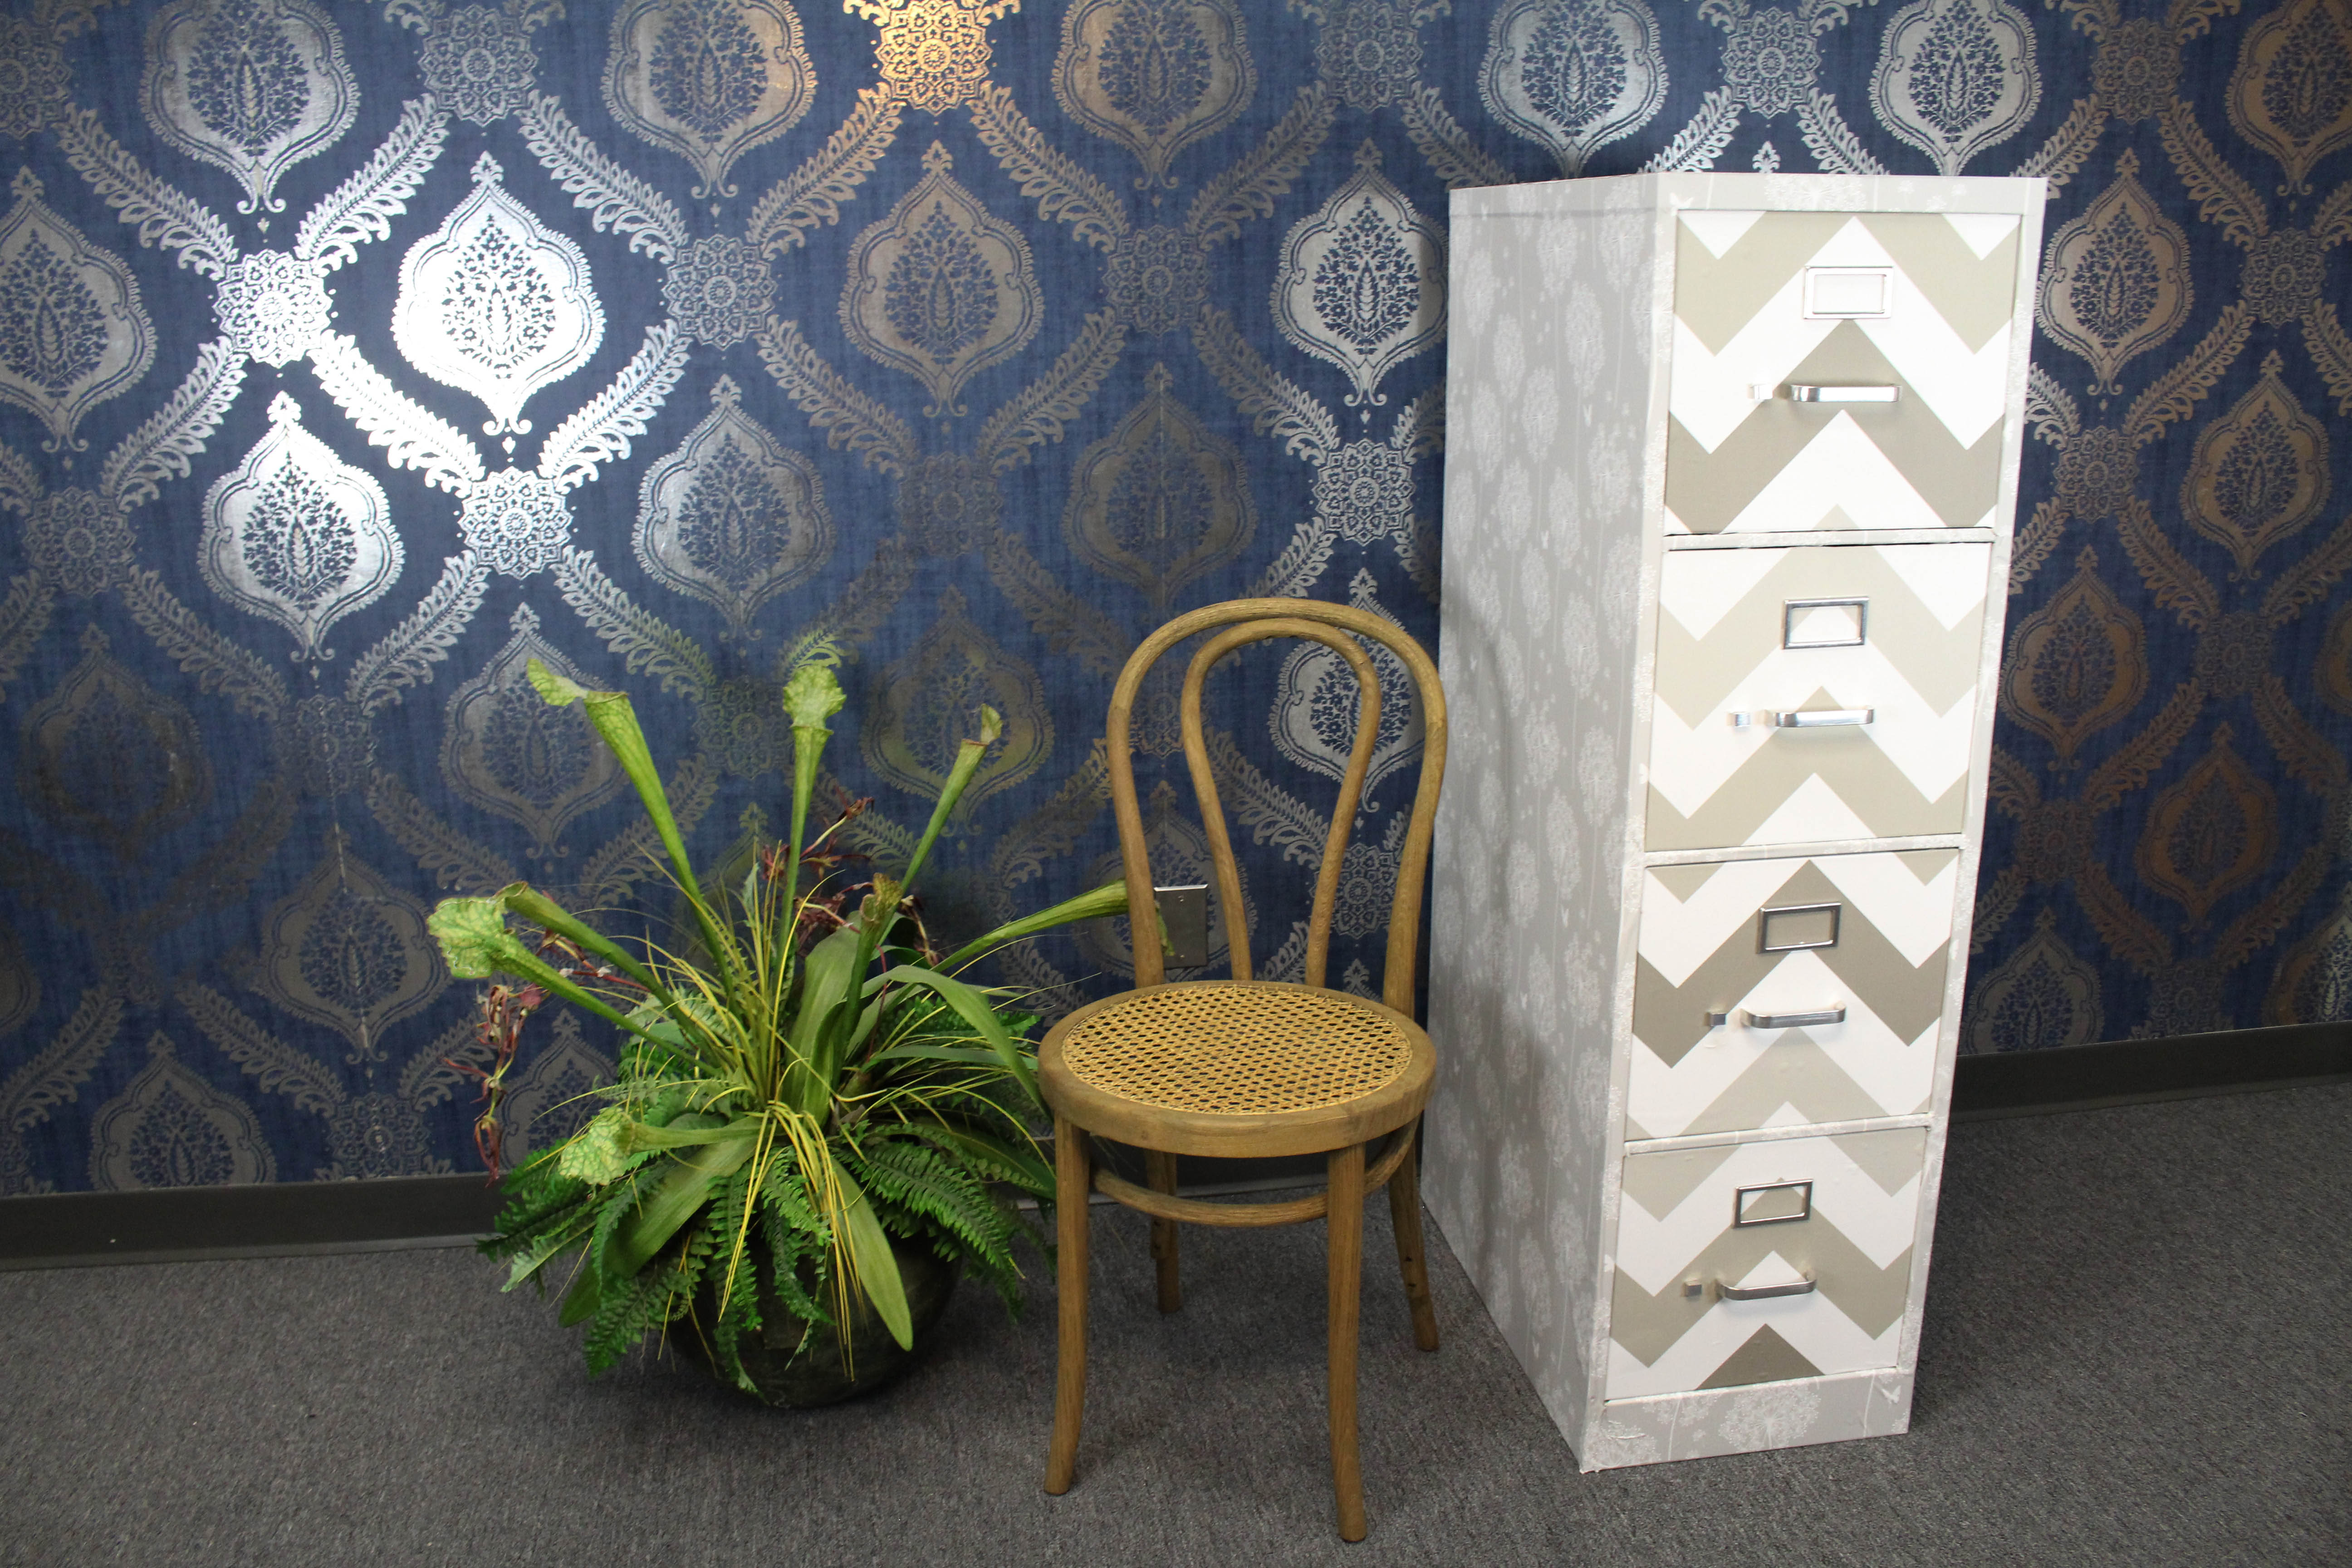
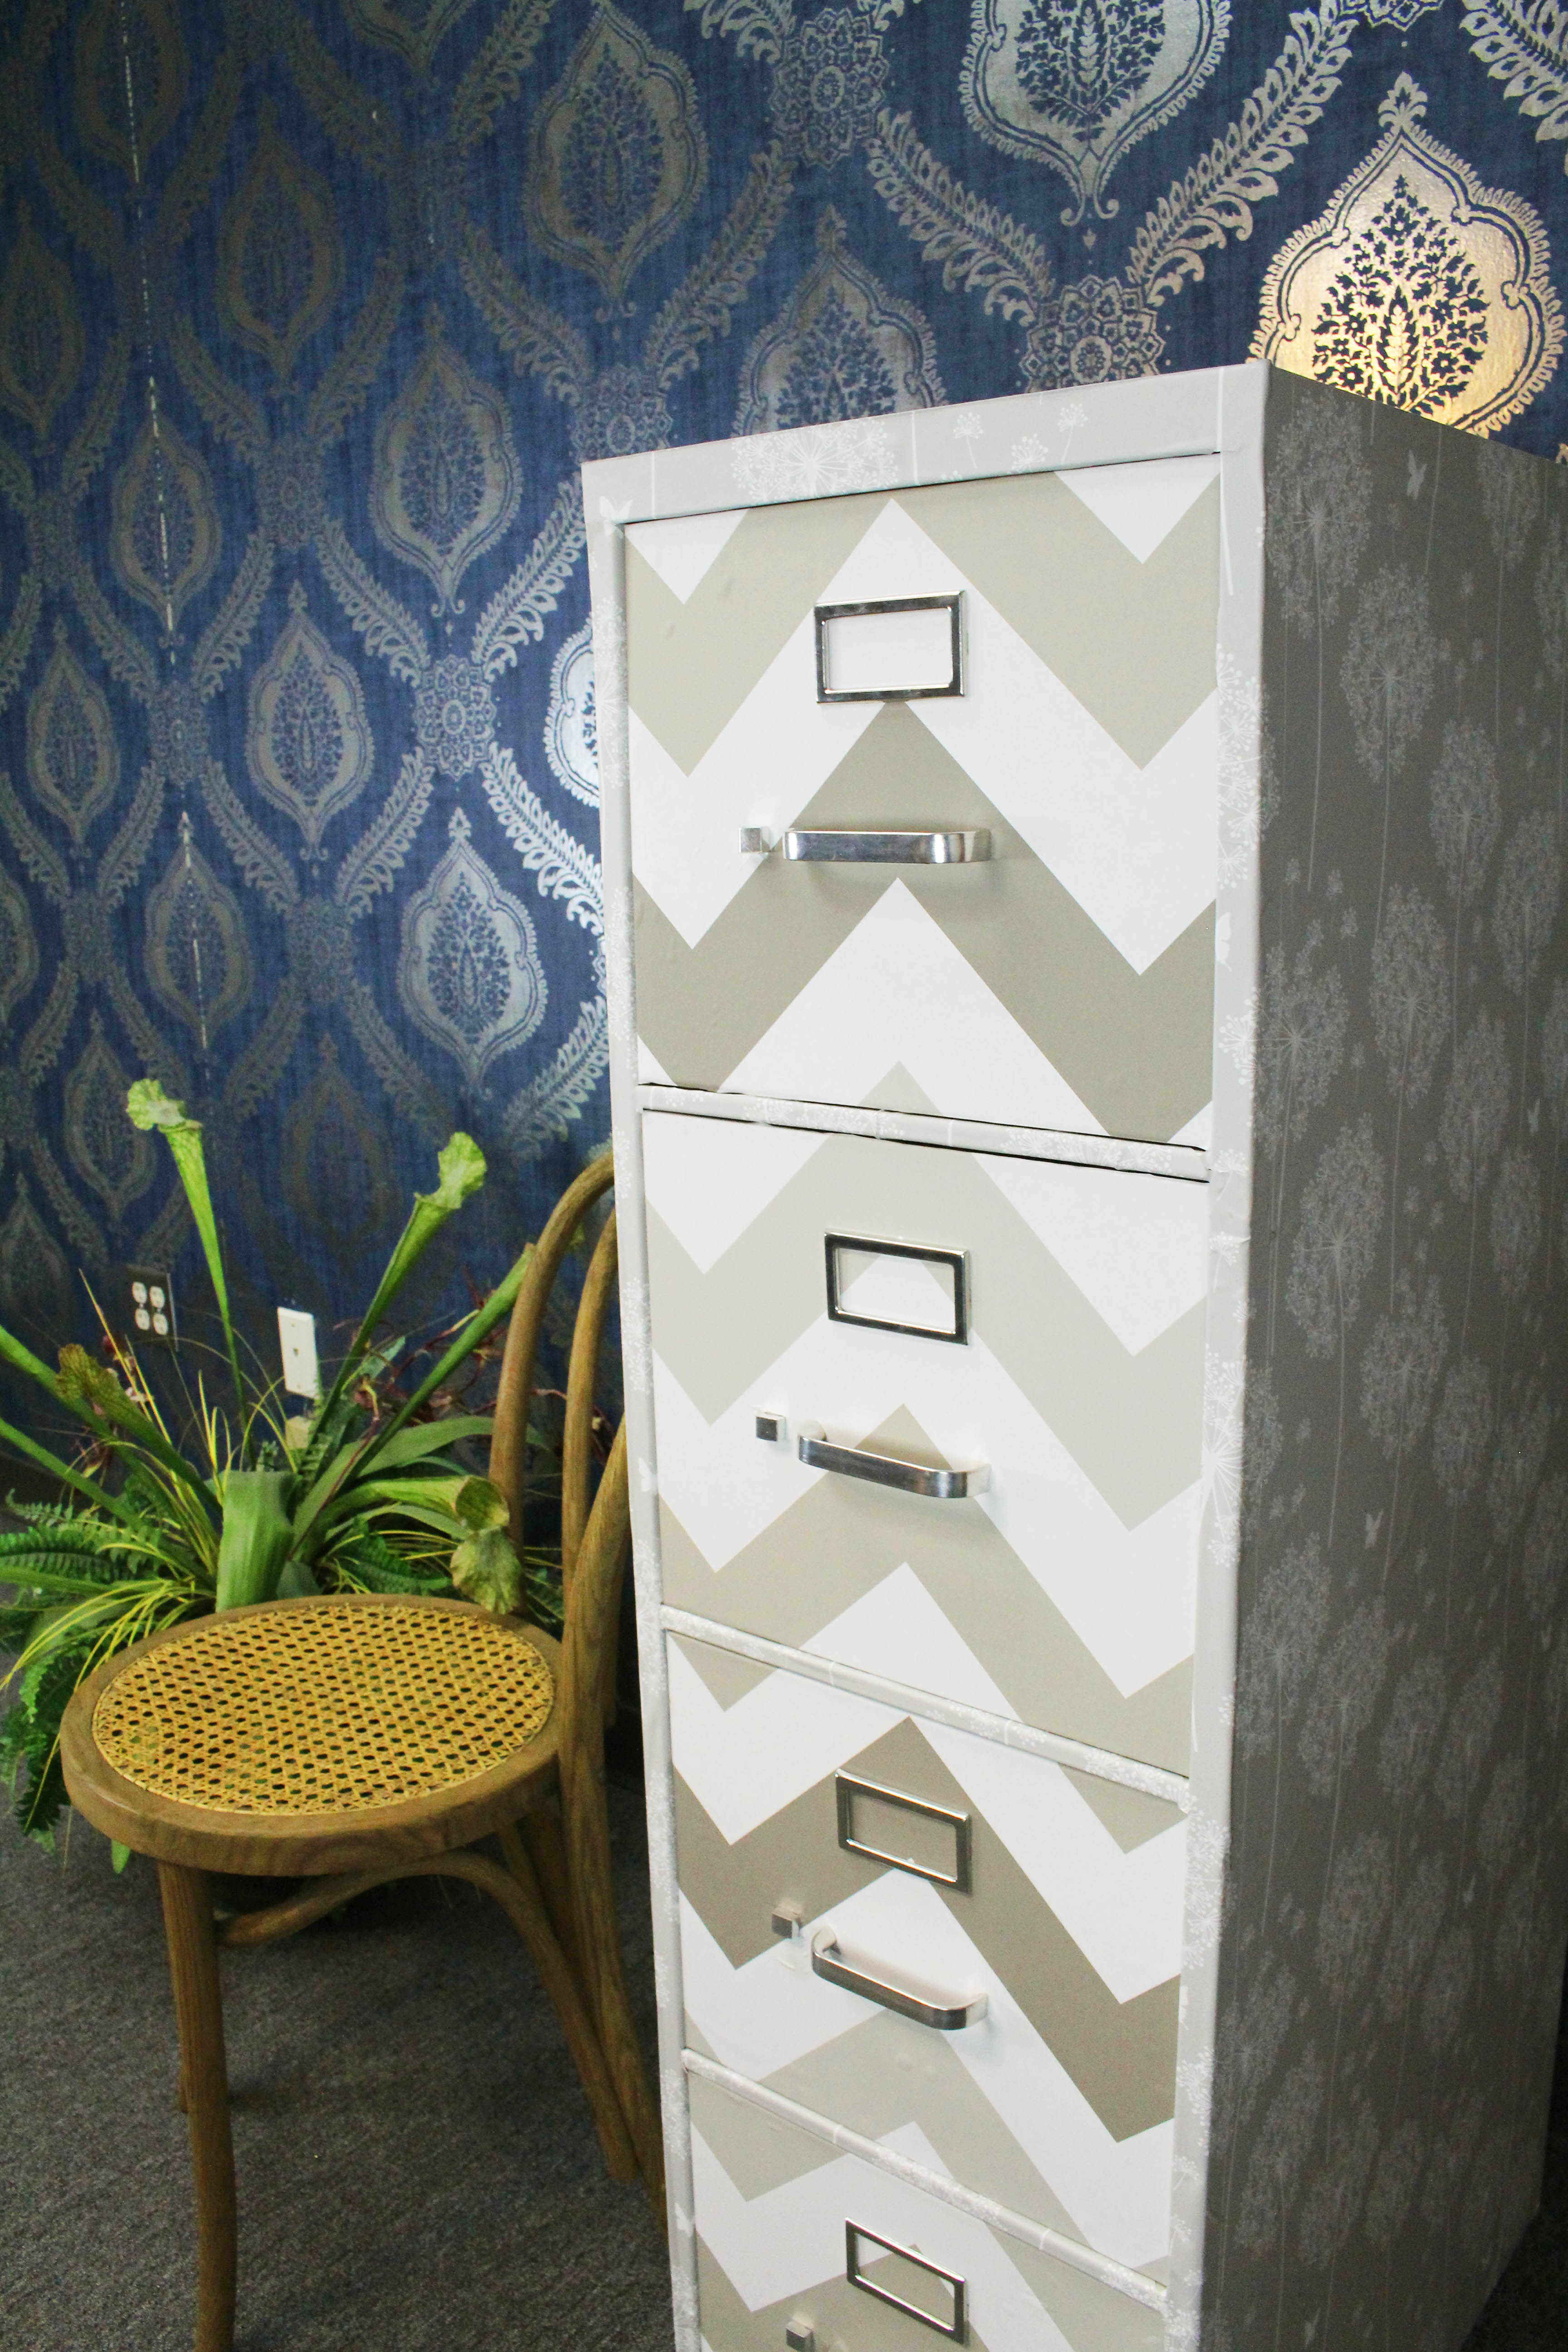
Using peel and stick wallpaper for this project makes it super easy to accomplish. The mixture of the dandelion and chevron prints looks modern in a chic neutral color palette.
Looking for more patterns? We’ve got a huge selection of NuWallpaper with something for everyone.
If you decide to do this project, we would love to see! Tag us Instagram @WallPops with the hashtag #FriDIY.