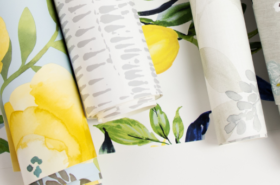

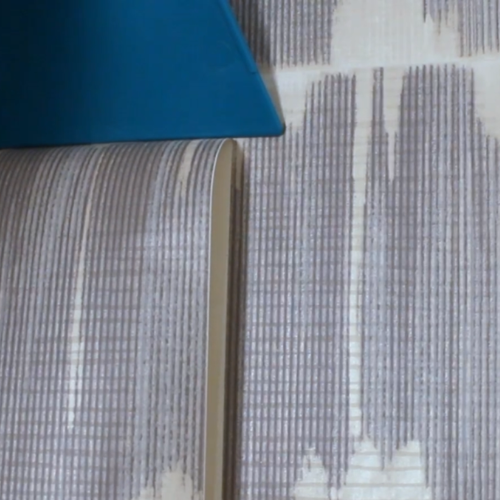
Peel and stick wallpaper has become a popular choice for renters and homeowners alike, offering an easy way to create customized, beautiful spaces in a breeze. Although the principles of use are simple, we’ve gathered five of our favorite tips to ensure a smooth and secure peel and stick wallpaper installation that you can be proud of. From selecting the right surfaces to timing your project perfectly, these tips will set you on the path to a gorgeous and long-lasting installation!
Looking for the step-by-step tutorial? Head there now!
Select a Suitable Surface
Before you get started, it’s important to make sure that the surface you will be installing your peel and stick wallpaper on is compatible with the substrate.
You can use peel and stick wallpaper on surfaces that are:
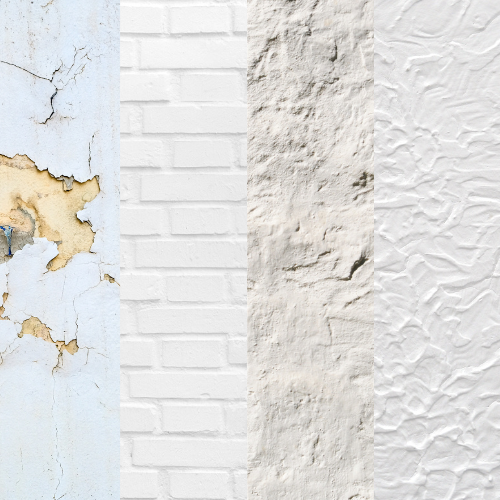
Smooth and free of textural imperfections
Walls or surfaces should be smooth; a slight drywall or paint texture is generally fine and will hold your peel and stick wallpaper in place.
Do not install peel and stick wallpaper on top of exposed or unprepped drywall, or surfaces with an orange peel, knockdown, roman clay or limewash, cinderblock, or any other textured finish. The gaps left underneath the substrate, caused by peaks in the texture, give moisture and debris an opportunity to enter and degrade the adhesive, which can result in premature peeling of the substrate. Additionally, this can cause tears in the surface of the paper when smoothing onto the wall.
Painted and fully cured
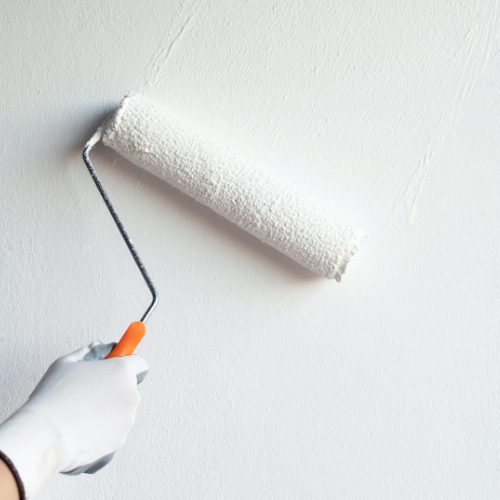
Walls or surfaces that are painted with standard paint (no non-stick or flat paint!) are the perfect canvases for peel and stick wallpaper. Just be sure that the paint has cured completely, around 4-6 weeks or as recommended by the paint manufacturer, prior to installing. Failure to allow proper curing of paint may result in damage after removal, or even premature peeling of the substrate.
Surfaces that are great for peel and stick wallpaper include (but are not limited to) the following: walls, ceilings, refrigerators, drawer sides and bottoms, shelves, books, laptops…anything smooth, flat, clean & dry!
Bonus tip: Every space and surface is different, so when in doubt, test out a sample before starting a whole project. Our peel and stick NuWallpaper samples are cut from real rolls of product, giving you the opportunity to see, feel, and stick the actual product before diving in!
Put Some Prep in Your Step!
Prioritize preparation for your project – we promise, it’s worth it!
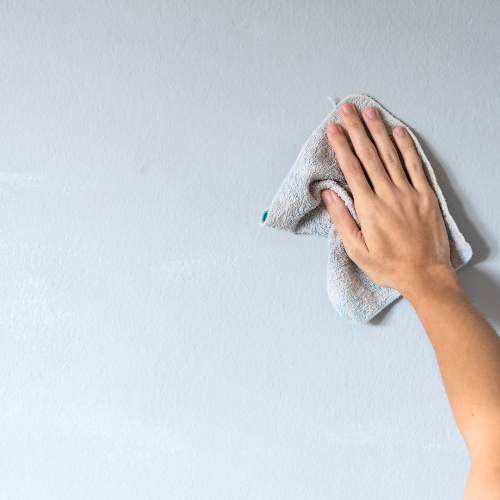
Before beginning your install, its important to make sure your walls are clean, smooth, and free of any moisture or debris.
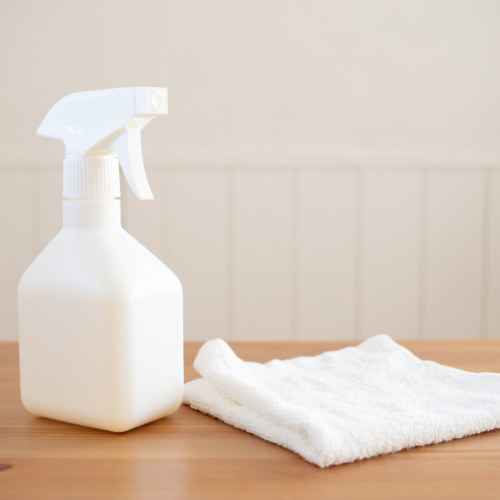
To properly clean your walls, we recommend creating a 30/70 mixture of Isopropyl alcohol to water, spraying onto the wall, and wiping dry with a clean cloth. Let the walls dry completely prior to beginning your project. Steer clear of cleaning products that leave behind any residue, grease, or moisture, as these substances may inhibit proper adhesion! Keep it simple, and you should be good to go!
If you have taken on steps needed to smooth out textured walls, please be extra thorough in your pre-installation cleaning! Any leftover dust can be detrimental to peel and stick wallpaper installation.
Account for Acclimation!
Make sure you give your peel and stick wallpaper a 48-hour acclimation period IN the environment it will be installed. This allows for the substrate to expand and contract to meet equilibrium with the temperature and pressure of the space that it will be installed. Taking this necessary step largely reduces the risk of any post-installation shrinkage that can occur when temperatures rapidly change – which is a normal part of shipping and transit!
In short, be sure to let your wallpaper relax and unwind for a few days before it takes its fantastic voyage to the walls!
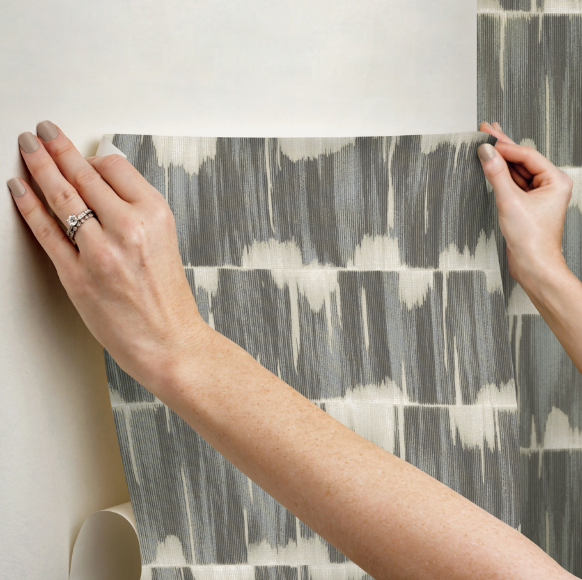
Stack the Seams for Success!
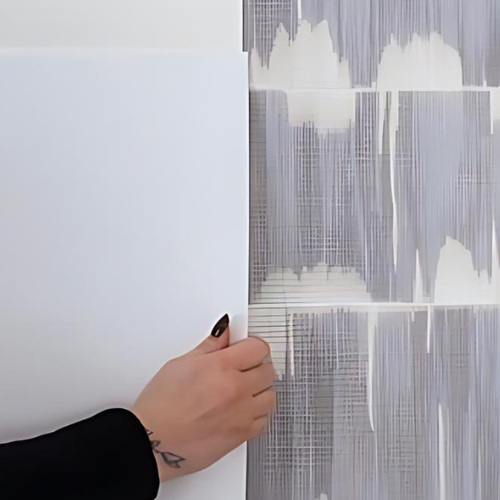
Going hand-in-hand with letting the product acclimate, it is also a great idea to very slightly overlap each strip installed. In the case that there is a drastic temperature or humidity shift inside the space you install your paper, keeping a tiny bit of overlap – literally 1/32 of an inch, or 0.8mm – is just enough clearance to offer you extra protection from gaps between panels.
Patience is Paramount – Slow & Steady Wins the Race
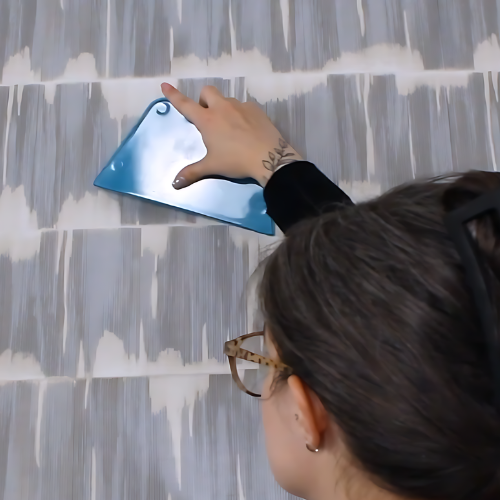
We’ve all heard the saying that slow and steady wins the race – and when it comes to installing peel and stick wallpaper, this couldn’t be truer!
Peel and stick NuWallpaper was created with repositioning in mind – you can adjust it as many times as you need to get a perfect match, free of air bubbles and imperfections. If you need to reapply a strip, just gently pull up from the corner and remove it slowly, then realign and smooth it into place!
As long as you keep the surface clean, avoid letting the adhesive part overlap on itself, and prevent the substrate from stretching, you’ll have the time and flexibility you need to get it done right! No matter your speed, take your time, breathe, and be patient with yourself! The proof will be in the perfect application you just completed!
Ready to roll? You’ve got this!
By following these tips, you can achieve a professional-looking install, transforming your space with ease and confidence. Ready to get started on your peel and stick wallpaper installation? We believe in you! And, we’d love to see your stunning work – tag us @wallpops #wallpops on social for a chance to be featured on our page!
Any questions? Check out our FAQs, or feel free to contact us through our site, or reach out via DM on social media! We are always happy to help!

Hannah is the Brand Marketing Manager for WallPops and RoomMates Decor. A dedicated design enthusiast with a passion for creating, her drive to bring ideas to reality never runs dry. In her free time, you will find her painting, spending time with her animals, or curating décor ideas for her dream traditional-styled home. Connect with Hannah through our social channels or here on LinkedIn!