FloorPop fanatics are getting super creative with their placement of our stylish vinyl designs. Although these peel and stick adhesive tiles were designed with floors in mind, we are in awe with the unique placements we’ve found them on our Instagram feed! Here are our top five unconventional ways we’ve seen FloorPops used.
*Disclaimer: FloorPops are meant for floors, and to be installed on completely smooth, flat, clean, and dry surfaces. Please be advised that while these FloorPop fanatics have had success with their unique placement, we cannot guarantee the same results for everyone. Attempt any installation outside of our recommended use at your own risk for damaging the surface underneath, or for poor adhesion.
1. Step by Step
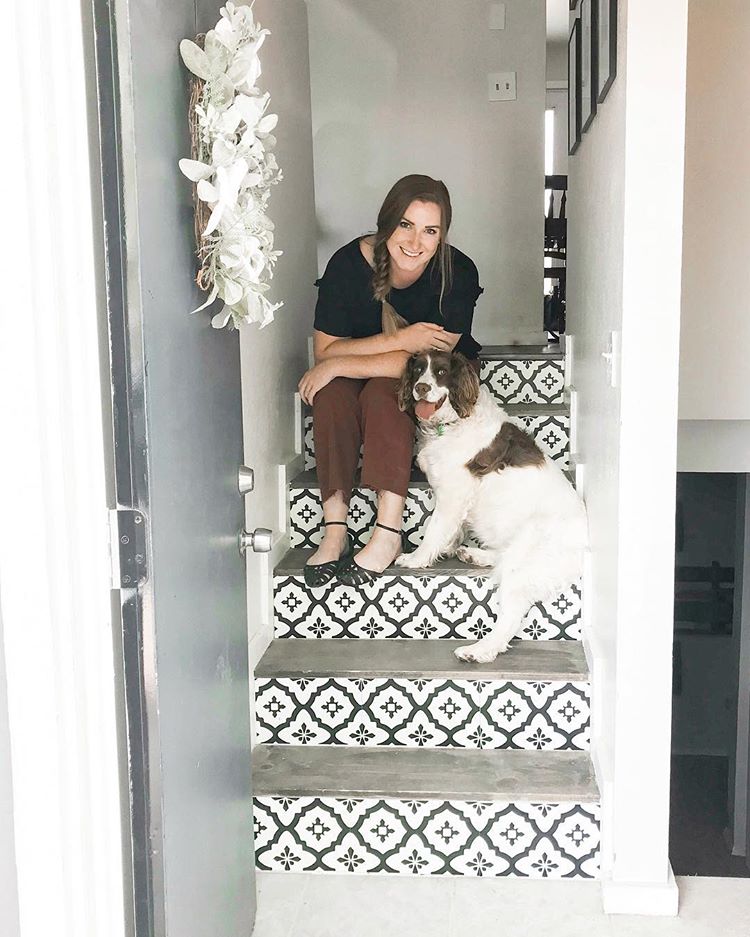

Before taking the first step into this home, take a step back and LOOK at this staircase! We love how Christi added a touch of elegance to her entryway by using our Comet FloorPops.
Shop the look here.
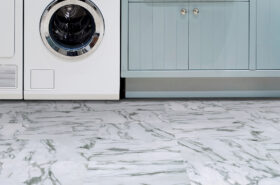
2. FloorPops Shine in the Shade

Mary’s Instagram
Although we do not recommend FloorPops to be installed outdoors due to extreme and unpredictable weather, one of our customers has a covered porch she experimented with and it looks fantastic! Mary wrote, “Although, it isn’t recommended for outside use, [FloorPops] has held up great through the fall and winter season here.”
Shop the look here.
3. Meet Us at the Mantel
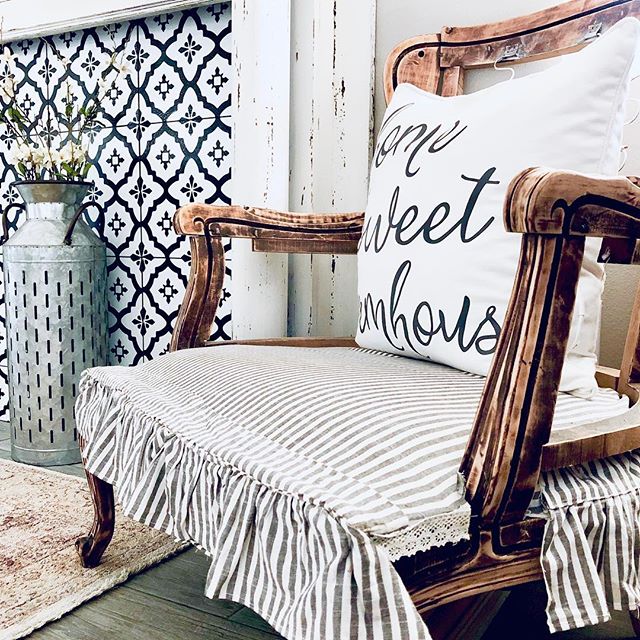
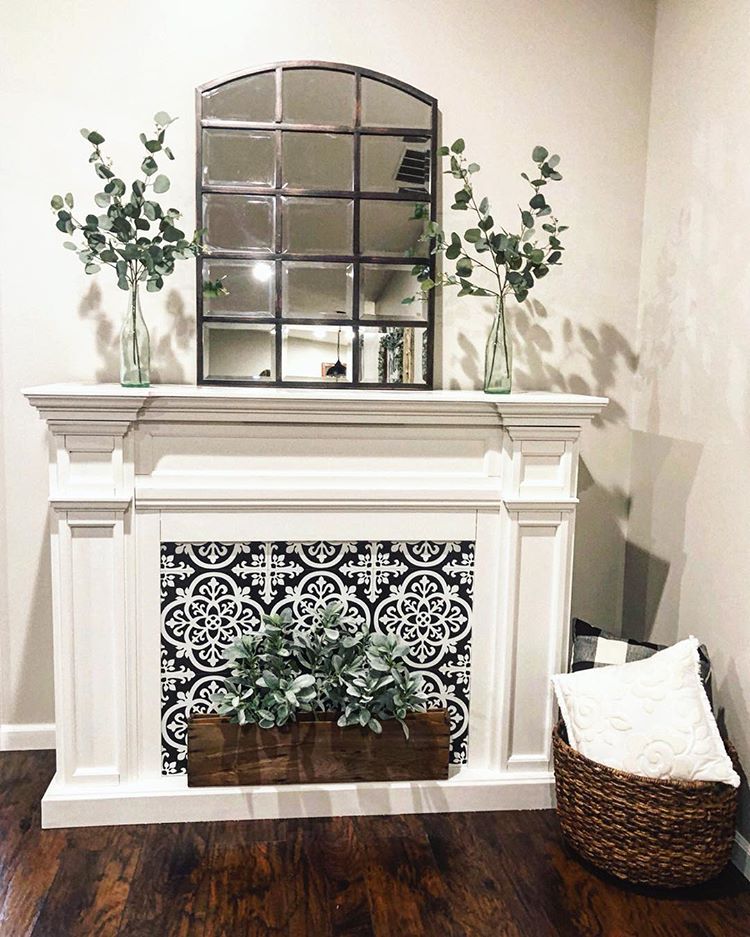
A faux mantel makeover is the perfect way to add character to your home, and without the fireplace- it’s a totally safe project for FloorPops! You’ll be able to create a bold statement with this DIY decor makeover.
Shop the look here!
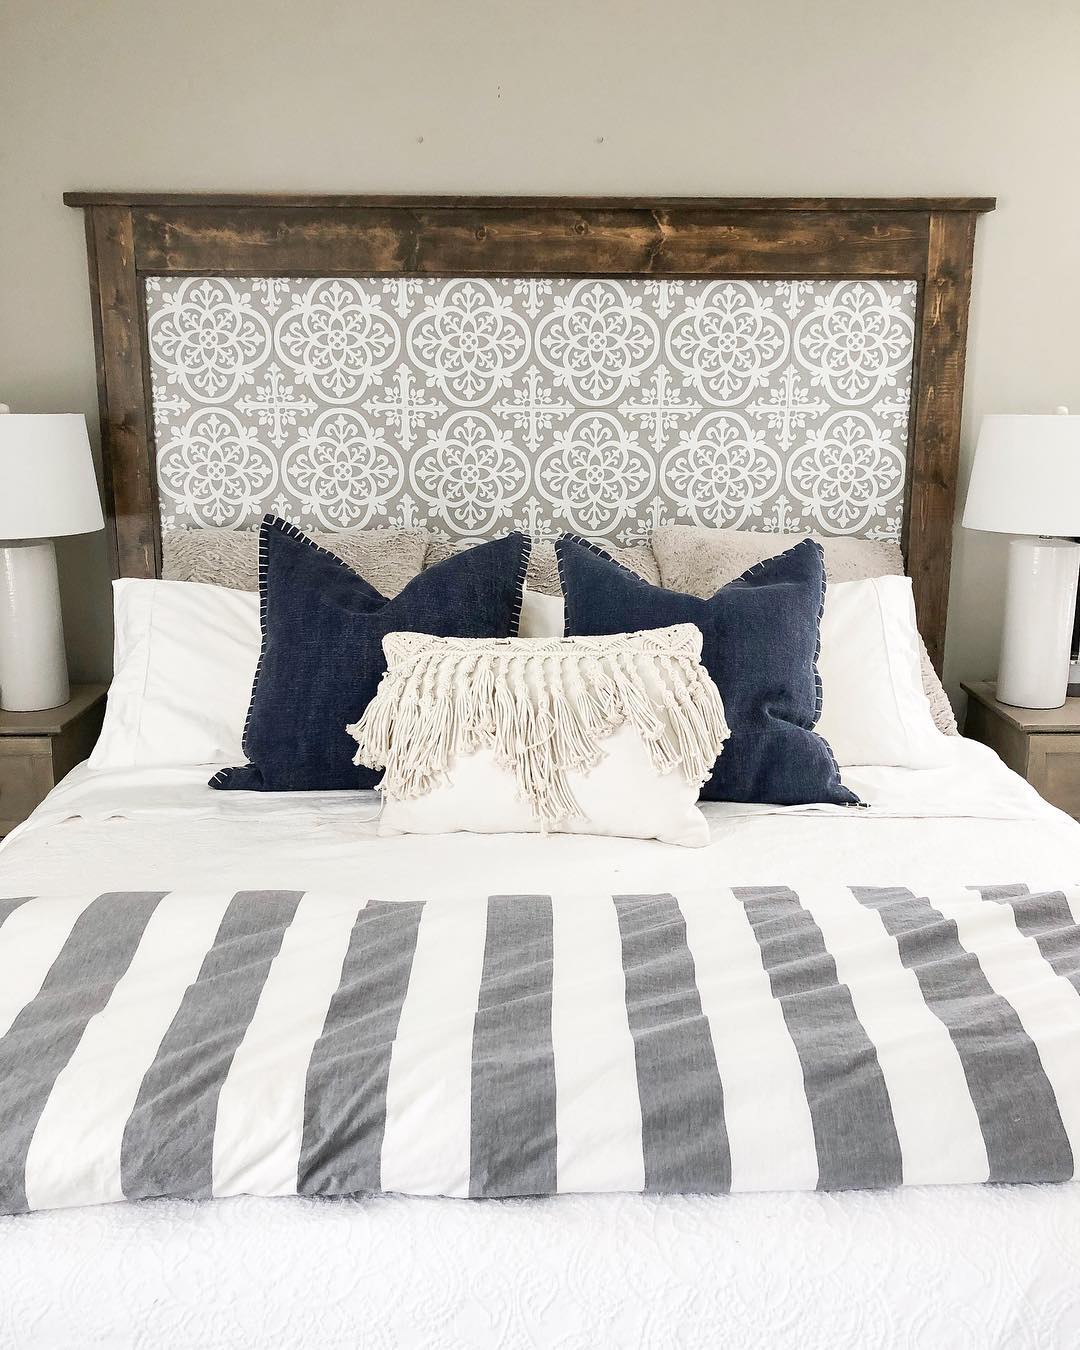
4. Stylish Zzz’s
Sarah’s Instagram
This one-of-a-kind design by Ashley had us swooning with its unique placement. Using our Medina floor tiles, she was able to create a dreamy and chic headboard for her bedroom.
Shop the look here.
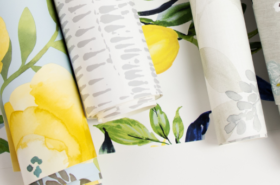
5. Happiness is.. Having Leftovers!
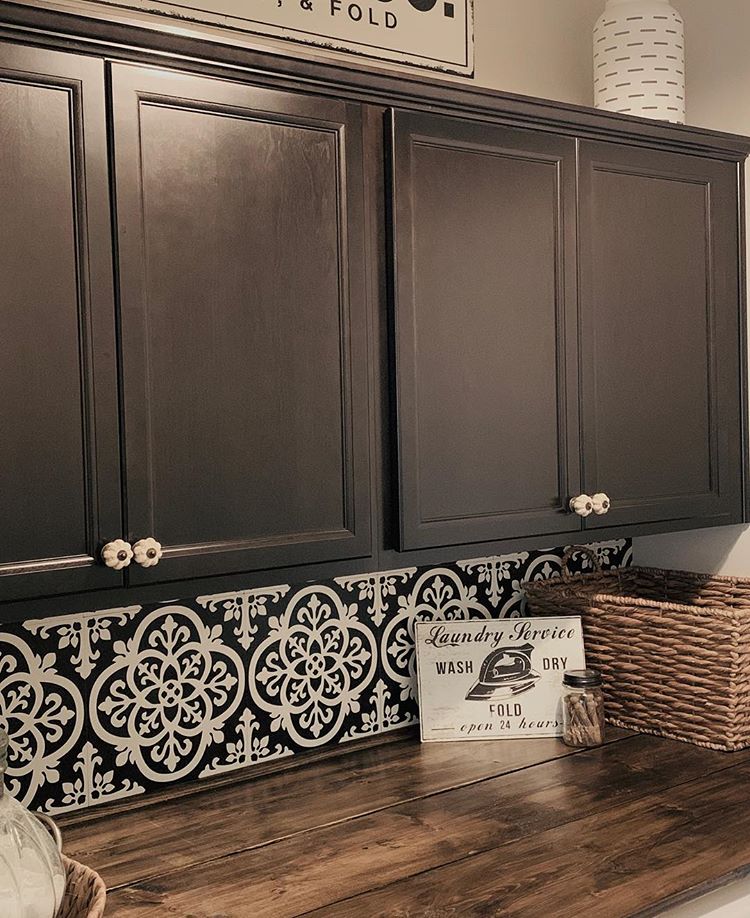
Ever have left over FloorPops from your order? Don’t let them go to waste! Take some inspiration from these creative DIYers, and put them all over your home! Above we have an awesome backsplash, while on the right they were used to dazzle a dog palace! Our general recommendation is to install on a clean, smooth, flat, dry surface. But, you can get the full list of where NOT to apply them – here.
Shop all our FloorPop designs here!
Andrea Greeson is the Digital Marketing Specialist for WallPops and Brewster Home Fashions. Having a passion for social media, creating blog content, and developing relationships with influencers, she balances being a competitive strength athlete after work hours and is a stylish fashion devotee 24/7. With an individual style embodying everything bohemian, you’re sure to feel her eclectic energy through her work. Connect with her through the companies social channels or here on LinkedIn!