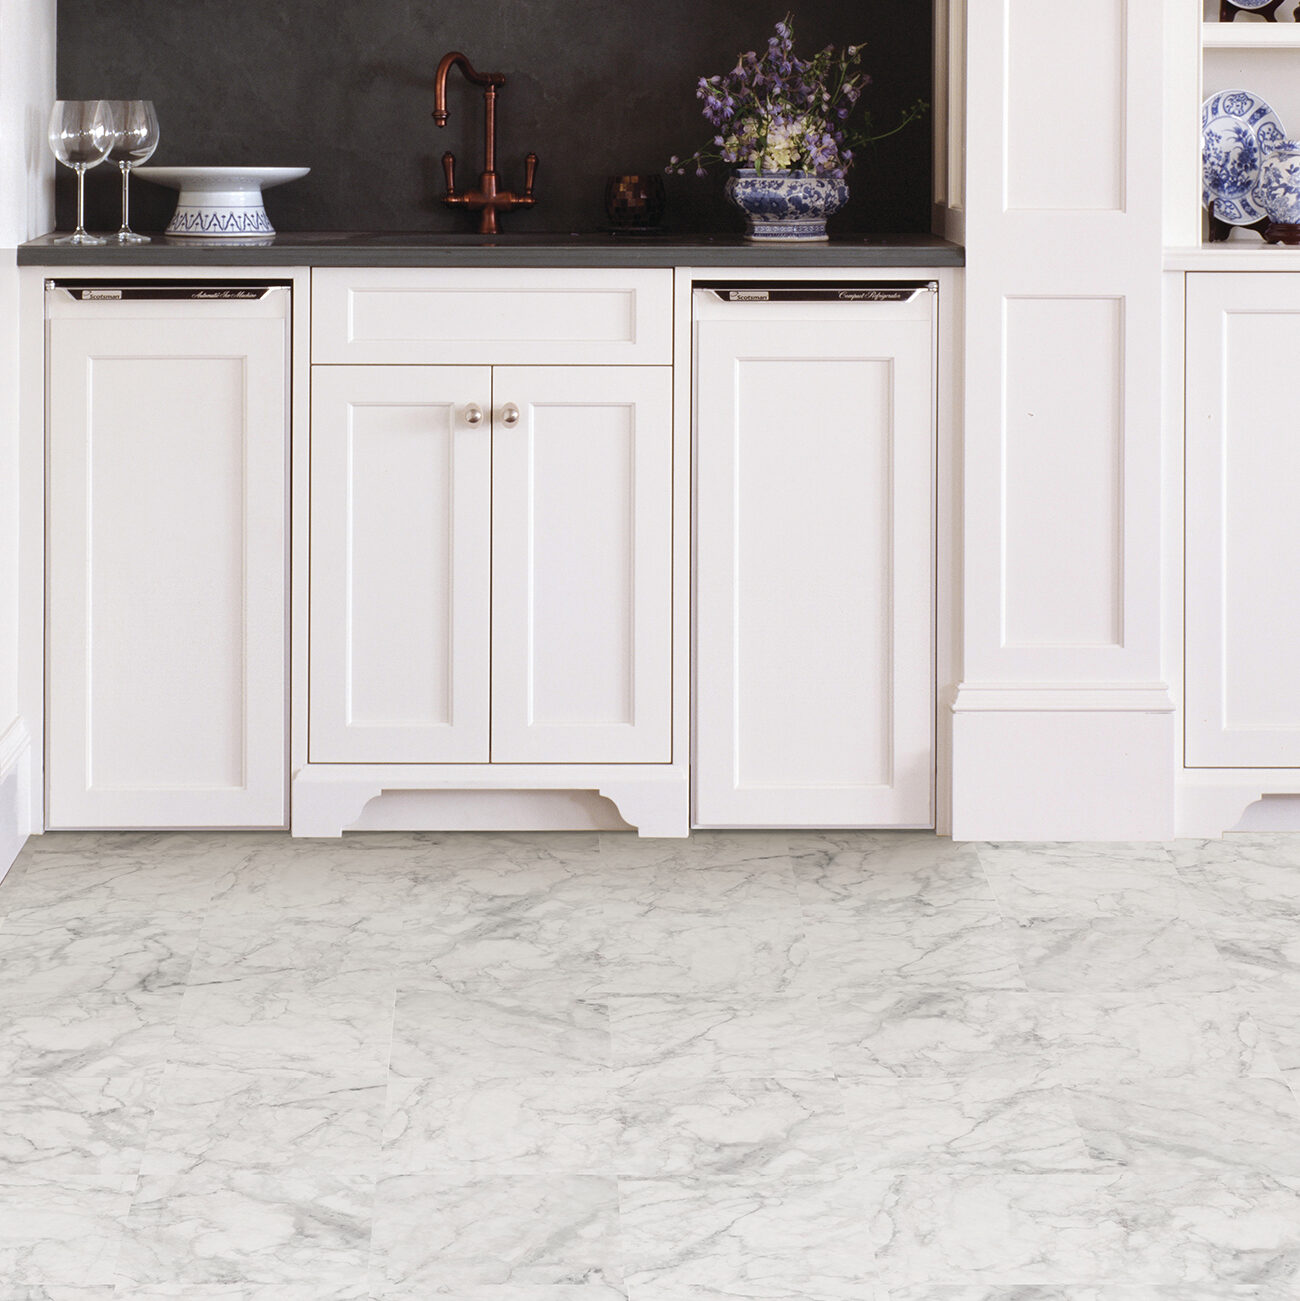
Peel and stick floor tiles are a fantastically easy, affordable, and quick way to step up the style in your space with a little DIY action. Though the principles of use are very simple, we’ve gathered 5 of our favorite tips and tricks to ensure a smooth and secure peel and stick floor tile installation that you can be proud of. From proper surface prep to finishing touches that seal the deal, these tips will make your installation feel like a walk in the park and look like a magazine worthy renovation.
Looking for the step-by-step tutorial? Head there now!
Prep for Success!

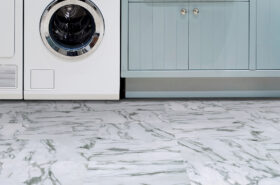
Prep for a successful, beautiful installation by ensuring that your floors are ready for their facelift! Check to be sure that the surface is compatible with peel and stick floor tiles by FloorPops; any smooth, flat, interior floor will do! Avoid installing peel and stick flooring on top of pre-existing peel and stick flooring, linoleum/asbestos flooring, outdoor or vertical surfaces. If you’re going to install peel and stick floor tiles by FloorPops atop existing ceramic tile, be sure to fill in any grout lines with a thin-set mortar to smooth and level the surface.
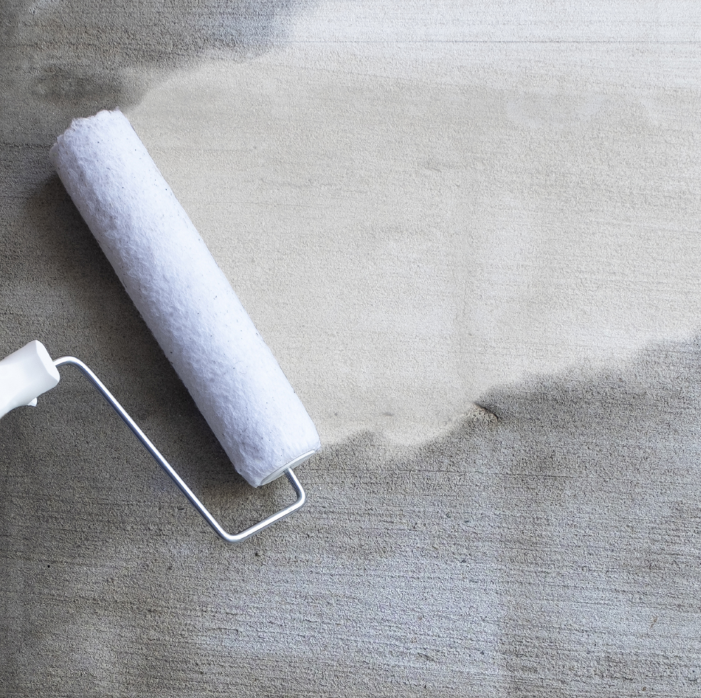
Once you’re sure that your surface is compatible with the tiles, give the floor a good cleaning. Sweep, mop, and dry the floor completely, leaving behind no residue from cleaning solutions, dust, or other debris. Any bumps or dirt can prevent the adhesive from sticking properly, potentially causing tiles to lift over time. If you’re looking for some serious extra stick, we recommend using our vinyl floor tile primer.
Account for Acclimation!
It’s easy to get carried away in the excitement of quick and easy new floors, but it’s essential to let your floor tiles acclimate to the space they’ll be installed in for at least 48 hours prior to getting started. This vital step prevents expansion or contraction after they’re placed, ensuring a snug fit.
Proper acclimation is key to achieving a professional finish that lasts.
Plan Ahead! Measure & Map
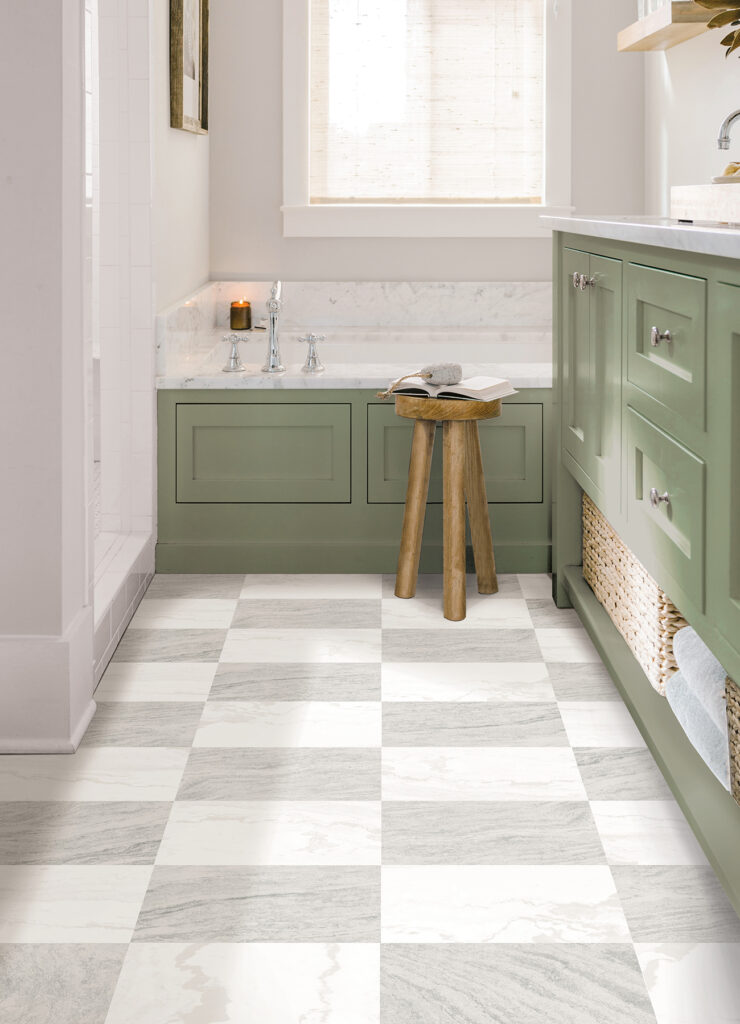

Plan your layout before sticking down any tiles. Especially important for checkerboard or graphic patterns, making sure you map out the desired orientation and location of your tiles is a fabulous way to achieve a flawless finish.
To create a centered, professional-trusted starting point, first find the center of the room by measuring the midpoints of two opposite walls. Mark this center point, then use a chalk line to snap straight lines from the center to each wall, creating a cross. These lines will guide you as you work outward, ensuring your tiles are aligned and the pattern remains balanced.
If you’re creating a checkerboard pattern, decide which color you want at the center—it can make a surprising difference in the overall look of your space! Try out different tile placements and orientations before starting to ensure you’re happy with the final result.
Cut with Precision
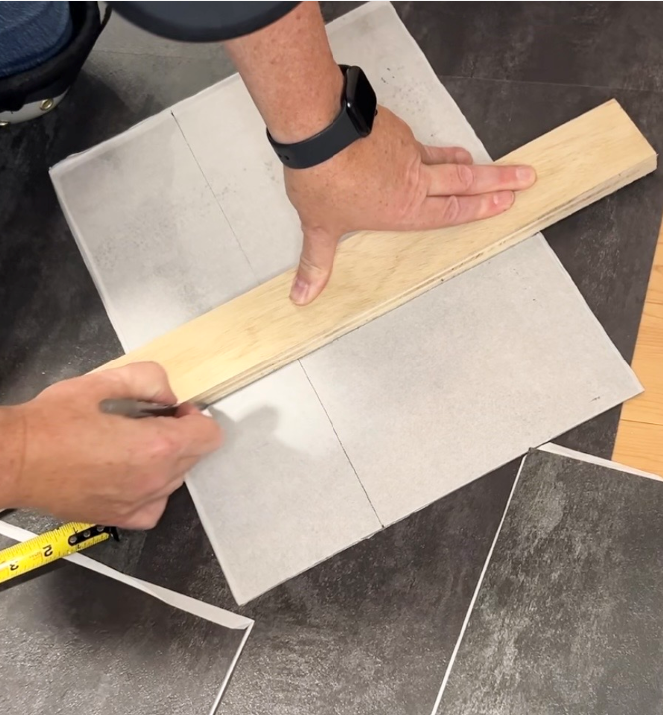
Cutting peel and stick floor tiles by FloorPops is easy and straightforward, but when it’s time for trimming, it’s important to go slow and steady for a clean (and safe) experience! For straight cuts, use a utility knife and straight edge to cut tiles carefully. Scoring the tile first makes it easier to snap cleanly.
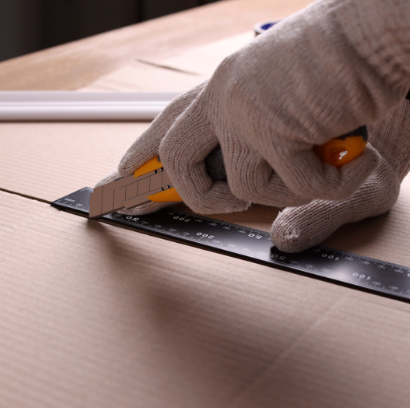
When dealing with tricky corners or tight spots, use leftover backing paper to create a template. Trace the area’s shape onto the paper, then use it as a stencil to cut the tile to the correct size and shape. This method ensures precise cuts and a seamless fit without wasting tiles or your precious time!
Apply Firm Pressure
Right after you finish installing your tiles, there’s one more step you should take before celebrating your brand-new floor: apply some pressure! To make a lasting impression, once the tile is in place, press firmly to really activate the adhesive. Using a heavy vinyl floor roller (or some sliding dance move action) will help ensure even contact with the floor, preventing lifting or slipping. Seal the deal with this extra step – we promise it’s worth it!
Bonus Tips
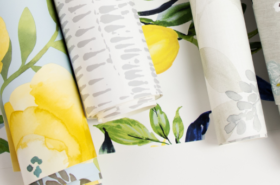
- Ensure that your tiles are all from the same batch! Each box of peel and stick floor tiles by FloorPops has a batch/run/lot number that will tell you which batch of ink was used to create the tiles. You want these numbers to match before installing, so you can ensure that there are no funky color discrepancies when installed.
- Order 1-2 more packs of tiles than what fits the dimensions of your project to account for any waste you may encounter during your project. It’s better to have too many rather than not have enough.
- Wait 48 hours after installing your FloorPops tiles before mopping to ensure that no liquid or cleaners get under the adhesive while it cures, which could loosen and remove the beautiful project you have just completed!
Ready to step up your style? You’ve got this!
By following these tips, you can achieve a professional-looking install, transforming your space with ease and confidence. Ready to get started on your peel and stick floor tile installation? We believe in you! And, we’d love to see your stunning work – tag us @wallpops #wallpops #floorpops on social for a chance to be featured on our page!
Any questions? Check out our FAQs, or feel free to contact us through our site, or reach out via DM on social media! We are always happy to help!

Hannah is the Brand Marketing Manager for WallPops and RoomMates Decor. A dedicated design enthusiast with a passion for creating, her drive to bring ideas to reality never runs dry. In her free time, you will find her painting, spending time with her animals, or curating décor ideas for her dream traditional-styled home. Connect with Hannah through our social channels or here on LinkedIn!